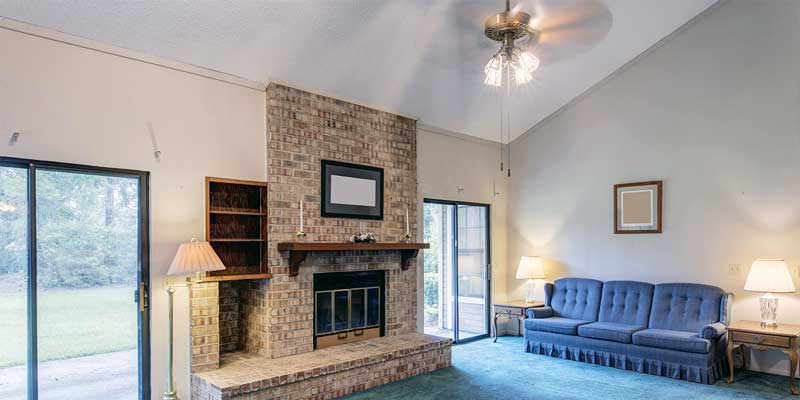
Painting a Popcorn Ceiling
If you’re painting a room of your house and decide your ceiling needs a refresh as well, you may get nervous if you don’t know how to go about it. The textured nature of a popcorn ceiling can have some DIY’ers running for the hills. It’s relatively easy to paint a popcorn ceiling is simple, but if you don’t have the supplies, time or patience to do it right, it’s best to hire an interior painter in Boston to get the job done.
Popcorn ceilings are more common in older homes, being especially popular between the 1930s and 1990s. This is because the texture was an easy way to hide flaws in ceilings. In addition, the texture added a bit of sound proofing between floors. But once the 2000s ticked over, the popularity of popcorn ceilings faded quite a bit. Now, new construction homes feature flat ceilings rather than textured ones.
If fact, did you know having popcorn ceilings in your home can decrease its property value? But if you already have a popcorn ceiling and want to refresh it, here are some tips.
Popcorn Ceiling Painting Basics
Has your popcorn ceiling become dull and yellow? You don’t have to remove the popcorn texture to improve its appearance (this is messy and expensive), but you can certainly brighten and refresh your existing ceiling.
1. Test for asbestos. Asbestos was a common ingredient in many popcorn ceilings back in the day due to its strength and heat resistance. However, asbestos is now known to cause lung cancer and related health problems, leading to a ban on this substance in 1978. If you have a home built before the mid-80s, you should test your ceiling for asbestos. But even if asbestos is detected, this doesn’t necessarily mean you have to remove it – just don’t do any drilling or sanding, which can displace the asbestos fibers.
2. Protect the room. As you can imagine, it’s messy to paint a ceiling. Be sure to cover your floors with plastic tarps and sheeting. Take off light fixtures and outlet covers, or protect them with painter’s tape.
3. Clean the ceiling. Popcorn ceilings collect a lot of dust. Be sure to clean off the dust and grime beforehand or the paint won’t adhere as well.
4. Use a paintbrush to cut in about two inches. Cut in around the perimeter of the ceiling, as well as around smoke alarms and light fixtures. Use painter’s tape for clean lines at the walls.
5. Load the roller with paint. Depending on the level of texture in your popcorn ceiling, go with either a ⅜ inch (fine to medium texture) or ½ inch (for heavier texture).
6. Apply in a thin, even coat. Don’t use too much paint, as the popcorn texture will get too heavy and flake off later.
7. Give the first coat enough time to dry. This should be about two hours, or four hours if it’s very humid out. To help with the drying, use a fan or open a window.
8. Apply a second coat of paint in the opposite direction to cover roller marks and lines.
9. Touch up any spots once that coat has dried.
Contact TB Services
Our Quincy painters have vast experience painting popcorn ceilings, so if you need help with this task, contact us at 781-901-2294. We would be happy to give you a free quote.


